What is OpenClaw?
OpenClaw is an open-source AI assistant designed as “AI that actually does things.”
It doesn’t just chat. It takes real actions — browsing the web, running code, managing files, sending messages, and automating workflows across your apps.
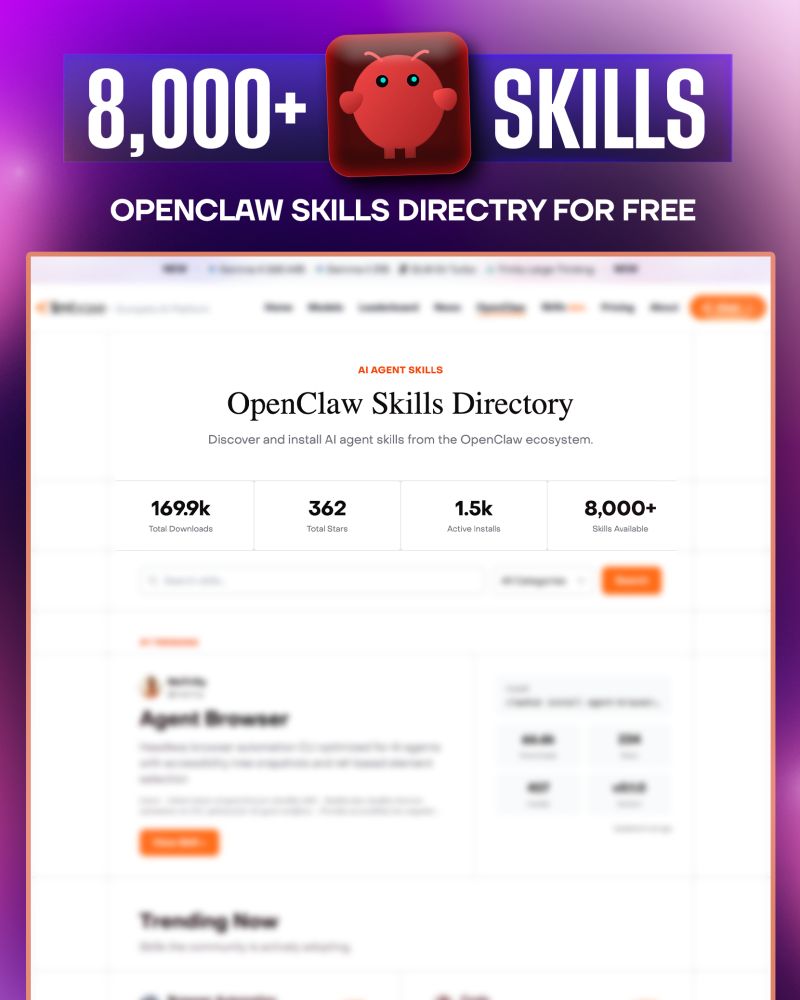
Skills are what make it powerful. They are instruction packages that teach OpenClaw how to perform specific tasks — browser automation, coding, memory, multi-agent workflows, and much more.
You can browse 8,000+ free skills here: 👉 https://llmbase.ai/openclaw/
Step 1 — Install OpenClaw
The fastest way to install is the installer script. It detects your OS, installs Node if needed, installs OpenClaw, and launches onboarding automatically.
On macOS / Linux / WSL2:
curl -fsSL <https://openclaw.ai/install.sh> | bash
On Windows (PowerShell):
iwr -useb <https://openclaw.ai/install.ps1> | iex
Or via npm:
npm install -g openclaw@latest
openclaw onboard --install-daemon
System requirements: Node 24 (recommended) or Node 22.14+. Works on macOS, Linux, and Windows (WSL2 recommended on Windows).
Verify your install:
openclaw --version
openclaw doctor
openclaw gateway status
Step 2 — Install the ClawHub CLI
ClawHub is the public skill registry for OpenClaw. It’s a free service — all skills are public, open, and visible to everyone for sharing and reuse.
Install the ClawHub CLI with one command:
npm i -g clawhub
Or with pnpm:
pnpm add -g clawhub
Step 3 — Browse Skills
You have two ways to find skills:
Option A — Browse the web directory: Go to https://llmbase.ai/openclaw/ and search by name or category.
Option B — Search from the terminal:
clawhub search "browser automation"
clawhub search "postgres"
clawhub search "calendar"
Search is powered by vector embeddings, not just keywords — so plain language works fine.
Step 4 — Install a Skill
Once you find a skill you want, install it with:
clawhub install <skill-slug>
Example:
clawhub install agent-browser
By default, the CLI installs skills into ./skills under your current working directory. OpenClaw picks them up as workspace skills in the next session.
You can also install a specific version:
clawhub install agent-browser --version 1.2.0
Or force overwrite an existing install:
clawhub install agent-browser --force
After installing — restart your OpenClaw session so it picks up the new skill.
Step 5 — Use the Skill
Once installed, you don’t need to do anything special. Just talk to OpenClaw in plain language:
“Use the agent-browser skill to open Twitter and take a screenshot.”
“Use the postgres skill to run a query on my database.”
OpenClaw automatically detects installed skills and uses them as context when handling your requests. No configuration needed.
You can also invoke skills directly with slash commands:
/agent-browser
/coding-workflow
/rag-memory
Step 6 — Update Your Skills
Keep skills up to date with:
clawhub update --all
Or update a specific skill:
clawhub update agent-browser
Step 7 — Manage Your Skills
List all installed skills:
clawhub list
Disable a skill without deleting it — edit your OpenClaw config at ~/.openclaw/openclaw.json:
{
  "skills": {
    "entries": {
      "skill-name": { "enabled": false }
    }
  }
}
Enable a skill that’s off by default:
{
  "skills": {
    "entries": {
      "skill-name": { "enabled": true }
    }
  }
}
How Skills Work (Under the Hood)
Skills are plain-text instruction files — not executable code. They encode expert knowledge about frameworks, tools, or workflows that OpenClaw reads to improve its output. Zero runtime overhead, no dependency conflicts, and full transparency — you can read every instruction before installing.
Each skill is a directory containing a SKILL.md file with YAML frontmatter and instructions. OpenClaw loads bundled skills plus optional local overrides, and filters them at load time based on environment, config, and binary presence.
Skill priority order (highest to lowest):
- Workspace skills (
<workspace>/skills) - Project agent skills (
<workspace>/.agents/skills) - Personal agent skills (
~/.agents/skills) - Managed/local skills (
~/.openclaw/skills) - Bundled skills (shipped with OpenClaw)
Security — Read Before Installing
Treat third-party skills as untrusted code. Read them before enabling. Prefer sandboxed runs for untrusted inputs and risky tools.
Skills with more than 3 unique community reports are auto-hidden by default. Moderators can review, unhide, or delete flagged skills.
Every skill on LLMBase shows a risk rating: Safe / Medium / Critical — always check this before installing.
Want to Publish Your Own Skill?
If you build a workflow that works well, you can publish it for the community:
clawhub publish ./my-skill --slug my-skill --name "My Skill" --version 1.0.0 --tags latest
A GitHub account must be at least one week old to publish — this helps slow down abuse without blocking legitimate contributors.
Quick Reference
| Task | Command |
|---|---|
| Search skills | clawhub search "query" |
| Install a skill | clawhub install <slug> |
| Update all skills | clawhub update --all |
| List installed | clawhub list |
| Publish a skill | clawhub publish ./folder --slug name |
| Back up all skills | clawhub sync --all |
Resources
- 📂 Skills Directory — https://llmbase.ai/openclaw/
- 📖 Official Docs — https://docs.openclaw.ai
- 🧩 ClawHub Registry — https://clawhub.com
- 💬 Discord Community — https://discord.com/invite/clawd
- 🐙 GitHub — https://github.com/openclaw/openclaw
