This method turns text into videos using AI agents. You describe the video, the system writes code, and the video renders automatically.
1. Understand the setup
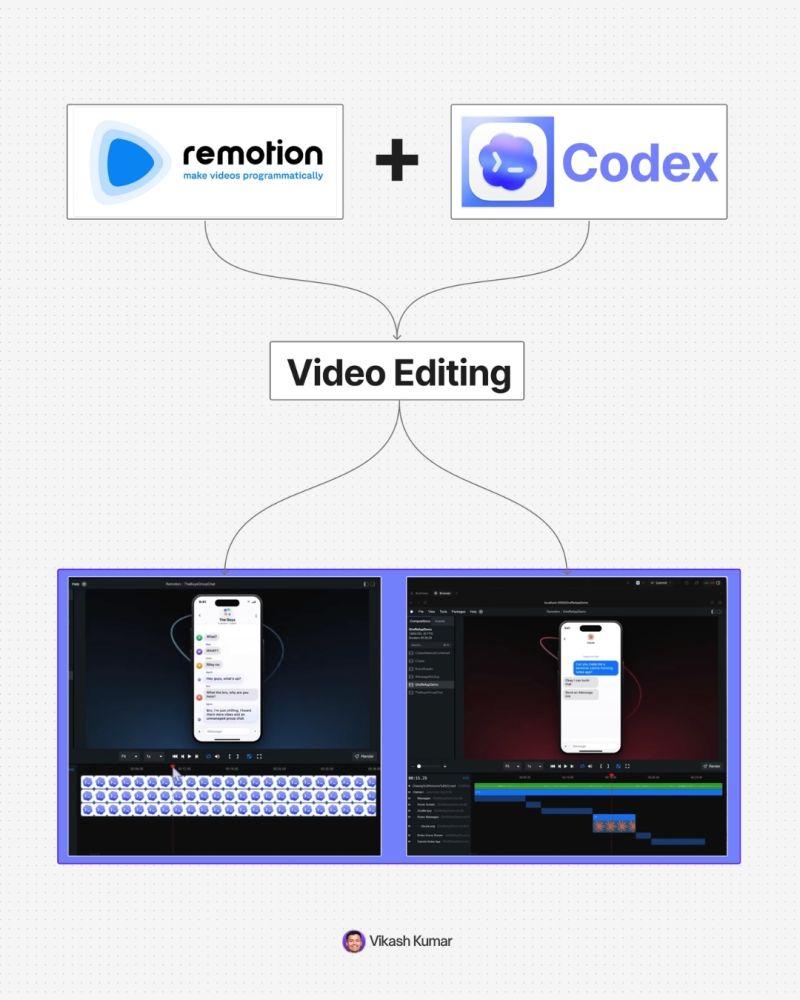
You are using:
→ Codex
↳ OpenAI’s all in one AI workspace
→ Remotion plugin
↳ converts code into motion graphics
→ GPT-5 level reasoning inside Codex
↳ handles complex instructions
You are not editing videos.
You are directing a system.
2. Install Codex and create a project
- Download Codex desktop
- Open it
- Create a new project folder
→ Example: “remotion project”
Why this matters:
→ keeps all videos organized
→ lets you create multiple videos in one workspace
3. Install the Remotion plugin
Inside Codex:
→ Go to Plugins
→ Search “Remotion”
→ Install
After this:
→ Codex can generate videos
→ You can trigger it using prompts
4. Create your first video
Start simple.
Type:
@remotion-video create a simple hello world animation with black text on white background
What happens:
→ AI writes code
→ Runs locally
→ Gives a preview link
Open the localhost preview.
You now have your first video.
5. Understand core concepts
You need to know 4 things:
- Composition
→ a full video or scene
- Timeline
→ duration of video
- Sequences
→ multiple scenes inside one video
- Assets
→ images, logos, audio files
Everything you build uses these.
6. Add assets to your video
Example:
- Download logos or images
- Drag into your project folder
Then prompt:
@remotion use codeex.png and remotion.png
place them on screen with animation
What happens:
→ AI detects assets
→ inserts them into video
→ animates them
7. Build scenes step by step
Instead of one big prompt, iterate.
Example flow:
→ Add logos
→ Add text
→ Add animation
→ Adjust timing
Example prompt:
extend scene by 2 seconds
animate logos off screen
change text to “full guide”
Key rule:
Be specific.
Better input = better output.
8. Control animations precisely
You can go deeper:
→ reference frames
→ change transitions
→ modify motion style
Example:
at frame 417
replace text with typing animation
instead of fade
Also:
Use screenshots to guide AI.
→ circle what you want changed
→ upload
→ explain clearly
This removes confusion.
9. Create multiple scenes
You can build full videos.
Example prompt:
create 3 new scenes:
scene 1: typing interface
scene 2: loading animation
scene 3: show final rendered video
keep background consistent
Result:
→ AI adds sequences
→ builds full storyline
10. Add music
- Download audio (mp3)
- Drag into project folder
Prompt:
@audio.mp3
add this at 75% volume across entire video
Now your video has sound.
11. Create reusable brand assets
Create a “brand assets” composition.
Include:
→ gradients
→ background patterns
→ logos
→ UI elements
Then reuse:
use red gradient from brand assets
This keeps videos consistent.
12. Refine with iteration
You will not get perfect output in one prompt.
Fix things like:
→ wrong animation
→ bad transitions
→ timing issues
Example:
remove this line
keep the animation ball
make transition smoother
This is normal.
13. Final rendering
When ready:
→ Click Render
→ Choose format (MP4 H.264)
Output:
→ export video
→ upload to social platforms
14. What makes this powerful
This is not a video tool.
This is a system:
→ AI agents write code
→ automation builds video
→ you guide outcomes
Speed difference:
→ manual editing: hours
→ this workflow: minutes
15. When to use this
Best use cases:
→ social media videos
→ product launches
→ explainer clips
→ UI demos
→ quick content production
Not ideal yet for:
→ high end cinematic work
→ complex VFX
Final takeaway
You are not learning editing.
You are learning:
→ how to think in scenes
→ how to describe motion
→ how to guide AI systems
That is the real skill.
Once you understand this:
You can create any video.
