What This Workflow Does
This n8n workflow lets you create Zendesk tickets fast by clicking a button inside n8n. It stops you from typing tickets again and again in Zendesk. It makes sure all ticket details are correct and complete every time. The result is quicker ticket creation with fewer mistakes and more time saved for other tasks.
The workflow triggers manually, then sends pre-set info to Zendesk to create a ticket automatically. This helps customer support staff work faster and avoid missing data that causes delays.
Who Should Use This Workflow
This workflow fits people who handle support tickets often using Zendesk. It works well for customer support teams who want to reduce manual work and errors.
It is simple enough for non-technical users who click a button to create tickets, no coding required. It also suits companies using self-host n8n or the n8n cloud service.
Tools and Services Used
- n8n: Automation platform that runs the workflow.
- Zendesk API: Lets the workflow create tickets in Zendesk.
- Manual Trigger node: Starts the workflow when clicked.
- Zendesk node: Sends ticket info to Zendesk using API credentials.
Inputs, Processing, and Outputs
Inputs
The workflow input is a manual trigger by the user clicking a button in n8n’s UI.
Preset ticket information like subject and description is used without extra input needed at runtime.
Processing Steps
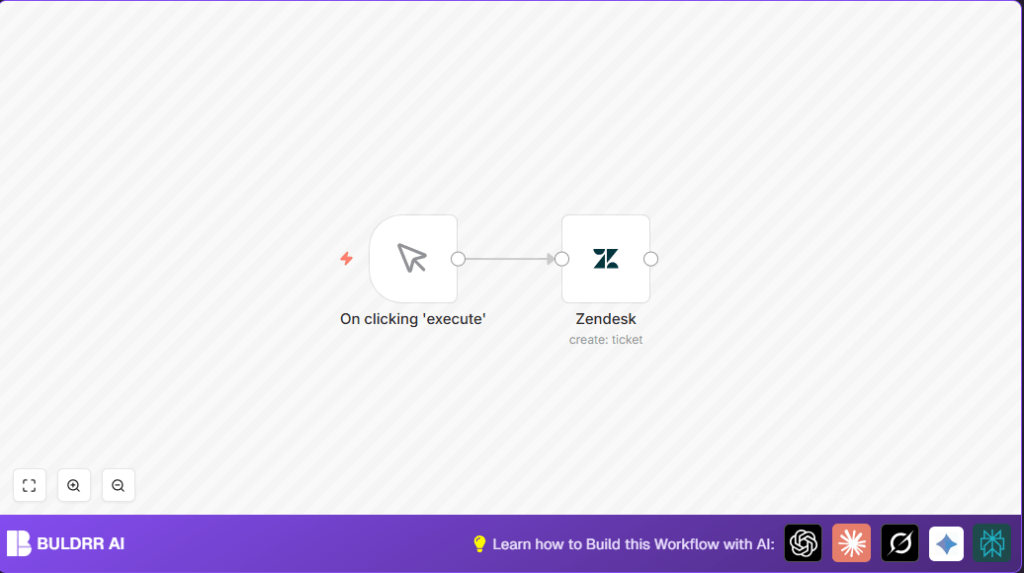
First, the manual trigger node activates the flow when pressed.
Next, it sends the ticket details to the Zendesk node, which authenticates with Zendesk API credentials.
The Zendesk node then creates a new ticket in Zendesk with the provided subject, description, and optional fields.
Output
A new ticket is created in Zendesk’s dashboard immediately after execution.
The workflow confirms success or shows errors if something fails.
Beginner Step-by-Step: How to Use This Workflow in n8n
Step 1: Import Workflow
- Click the Download button to get the workflow file.
- Open your n8n editor where you want to use this workflow.
- Choose Import from File and select the downloaded workflow.
Step 2: Configure Credentials
- Go to n8n Credentials and add your Zendesk API Key details (domain, email/token, API Key).
- In the imported workflow, open the Zendesk node and select your saved credentials from the dropdown.
Step 3: Update Ticket Info If Needed
- Edit the Zendesk node parameters like subject or description if you want different ticket details.
Step 4: Test the Workflow
- Click Execute on the Manual Trigger node.
- Check your Zendesk dashboard to see if the ticket appears.
Step 5: Activate for Production
- If the test is successful, switch the workflow status to Active.
- From now, just click execute to make tickets quickly.
Follow these steps as is, using the workflow file import feature inside n8n. This keeps things easy without building nodes from scratch.
Customization Ideas
- Change ticket Subject and Description fields using expressions to add dynamic info.
- Add priority, tags, or assign tickets inside the Zendesk node’s additional fields.
- Connect a Webhook node or form node before this flow to capture real customer input.
- Replace or add triggers like email or chat message nodes to create tickets automatically from other sources.
Handling Errors and Edge Cases
Authentication Errors: Incorrect API Key or credentials cause failures. Fix by updating credentials in n8n.
Missing Required Fields: Ticket creation fails without subject or description. Ensure Zendesk node has all mandatory info.
API Rate Limits: Each ticket uses one API call. Watch your Zendesk limits to avoid blocking.
Summary and Results
✓ Save 30 minutes daily by automating Zendesk ticket creation.
✓ Reduce data entry mistakes by using fixed ticket details.
✓ Make ticket creation easy for non-technical users with a manual button click.
→ Tickets appear instantly in Zendesk when workflow runs.
→ Customer support teams can fix issues faster with fewer delays.
