What This Automation Does
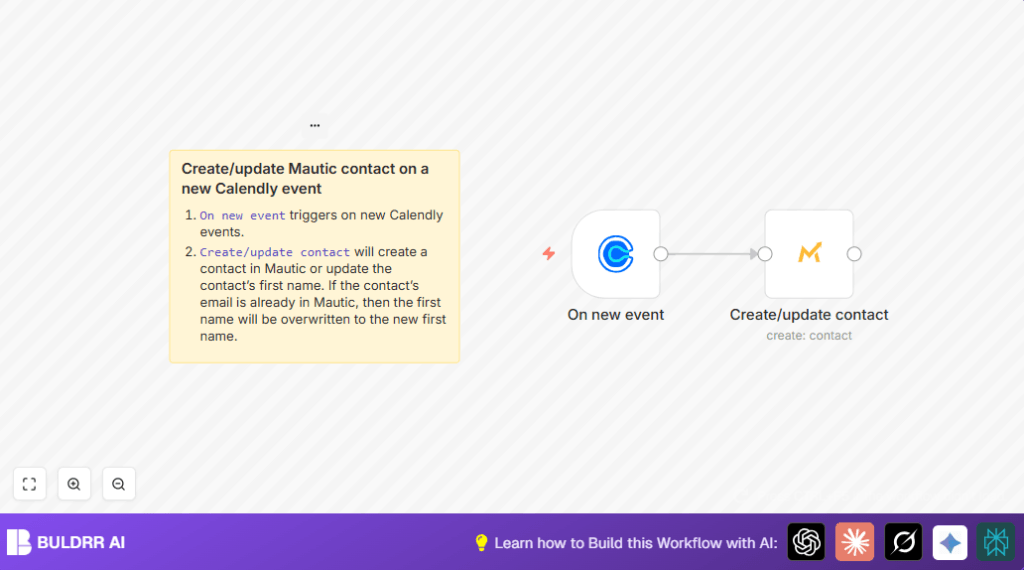
This workflow watches for new invitees created in Calendly.
It uses that input to create or update contact info in Mautic automatically.
So, it stops manual copying of email and name from Calendly to Mautic.
It keeps contact data correct and fresh.
Using this saves time and cuts data mistakes.
Inputs, Processing, and Output
Inputs
- Calendly event data: Data on new invitees via Calendly webhook.
- Mautic API access: Permission to create or update contact entries.
Processing Steps
- Trigger the workflow when Calendly sends new invitee data.
- Extract invitee email and first name from the event payload.
- Check if the email exists in Mautic contacts.
- If no contact found, create a new one with extracted info.
- If contact exists, update the first name to match Calendly data.
Output
New or updated contact records in the Mautic system synchronized with Calendly invitee data.
Who Should Use This Workflow
This workflow fits users who use Calendly to schedule meetings and Mautic to manage marketing contacts.
It’s best for users tired of manually transferring invitee information to Mautic.
Non-technical users who want to avoid errors in contact details benefit, too.
Users with many daily Calendly events find this especially helpful to save time.
Tools and Services Used
- n8n: The automation platform running the workflow.
- Calendly API: Provides new invitee data via webhook triggers.
- Mautic API: Creates or updates contacts using event data.
Optional: Running n8n on your own server is possible for better control using self-host n8n.
Beginner Step-by-Step: How to Use This Workflow in n8n
Step 1: Import Workflow
- Click the Download button on this page to save the workflow file.
- Open your n8n editor where you want to run automation.
- Go to the menu and select Import from File.
- Choose the downloaded workflow file and open it.
Step 2: Configure Credentials
- Click on each node that needs API keys.
- Enter your Calendly API Key under the Calendly Trigger node credential section.
- Enter your Mautic API Key, URL, or other required details under the Create/Update Contact node credentials.
Step 3: Update IDs or Fields if Needed
- If your setup needs specific folder IDs, email addresses, or custom fields, update these values in the workflow nodes.
Step 4: Test the Workflow
- Trigger a test event on Calendly by creating a new invitee.
- Watch the workflow execution in n8n to see if contact is created or updated in Mautic.
- Fix any credential or mapping errors if present.
Step 5: Activate for Production
- Once testing is successful, toggle the workflow to Active.
- This enables automatic contact syncing every time a new Calendly invitee is created.
Common Customization Ideas
- Add more contact fields like phone or company name in the Create/Update Contact node.
- Listen for other Calendly events such as
invitee.canceledto remove contacts. - Include an Email Send node to notify your team about new invitees.
Troubleshooting Tips
- Problem: No trigger on new Calendly invitee
Cause: Webhook not active in Calendly.
Fix: Confirm webhook subscription is ON for the n8n webhook URL in Calendly integrations. - Problem: Mautic contact not created or updated
Cause: API credentials wrong or expired.
Fix: Recheck and update API Key in n8n credentials.
Pre-Production Checklist
- Make sure Calendly webhook is subscribed and working with test data.
- Verify Mautic API access has permission to change contacts.
- Test workflow run manually with new invitee data.
- Keep API keys stored safely with backup.
Deployment Guide
Activate the workflow toggle in the n8n editor to start listening for events.
Check execution logs regularly to spot and fix issues.
Review permissions and API tokens periodically for workflow health.
Summary
✓ Automatically syncs new Calendly invitee data to Mautic contacts.
✓ Saves time by removing manual contacts entry.
✓ Keeps email and name data accurate across tools.
→ Runs on n8n using webhook triggers and API calls.
→ Easy to import, configure, test, and activate for production.
