What This Automation Does
This workflow adds a new person to a Sendy email list and sends a welcome email right after.
It fixes the problem of doing these tasks one by one by hand, which can cause mistakes or delays.
The result is that new subscribers get welcome emails quickly and without errors.
How This Workflow Works
Input
You start with an email and name for the new subscriber.
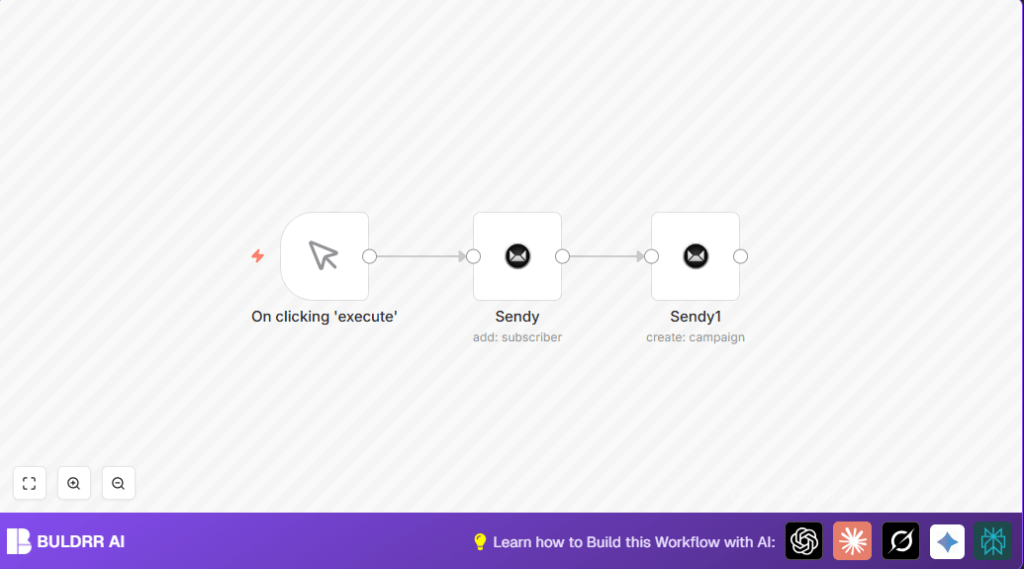
Process
First, the workflow adds the new subscriber to a selected mailing list in Sendy.
Then, it immediately runs a campaign that sends a welcome email to the same list.
Output
The subscriber is added in Sendy, and a welcome email is sent fast.
This makes the onboarding process smoother and saves manual work time.
Who Should Use This Workflow
This is useful for anyone who uses Sendy to manage email lists and send welcome emails.
People who want to avoid errors and save time with subscriber management will benefit.
Tools and Services Used
- Sendy API: Adds subscribers and sends campaign emails.
- n8n: Automates the workflow trigger and node connections.
Beginner step-by-step: How to Use This Workflow in n8n
Step 1: Download and Import
- Download the workflow by clicking the Download button on this page.
- Open the n8n editor where you want to run this automation.
- Use the “Import from File” option and upload the downloaded workflow file.
Step 2: Configure the Workflow
- Add your Sendy API credentials under the Credentials section in n8n.
- Assign those credentials to both Sendy nodes in the workflow.
- Change the mailing list ID if needed to the right one for your Sendy account.
- Update the subscriber email and name fields if you want to test with your own values.
Step 3: Test and Activate
- Run the workflow manually to make sure it adds the subscriber and sends the email.
- If testing works, activate the workflow to run automatically as needed.
- Optionally, replace the manual trigger with a webhook or timer trigger for real automation.
For anyone running self-host n8n, the import and credentials setup works the same.
Troubleshooting and Common Issues
- Failed to add subscriber: Check Sendy API Key and mailing list ID for accuracy.
- Email not sending immediately: Make sure the “Send Campaign” option is set to true in the campaign node.
Customization Ideas
- Use variables to add subscribers’ email and name dynamically from other data sources.
- Edit the HTML content in the campaign node to fit brand style or add personalized messages.
- Add more Sendy nodes to manage subscribers on different lists depending on conditions.
- Schedule sending welcome emails later by disabling immediate send and adding a delay node in n8n.
- Use a Webhook node to trigger this workflow from signup forms directly.
Summary
✓ Adds new emails to Sendy subscriber list automatically.
✓ Sends welcome campaign email right away.
✓ Saves manual work and reduces errors.
✓ Speeds up communication with new subscribers.
✓ Easy to customize with personal details and campaign design.
✓ Works for both cloud and self-host n8n setups.
→ The user gets faster onboarding with less chance to forget emails.
→ The user frees up time to focus on bigger tasks.
